To get started with traidhand, head to the sign-up page and create an account with your email address. You will receive a confirmation email - click the link to verify your account and log in.
Once you are logged in for the first time, traidhand walks you through a short setup guide. You will be asked to:
- Enter your business name - this appears on your quotes, invoices, and public profile.
- Select your trade type - for example, plumber, electrician, carpenter, or general builder.
- Add your services - list the services you offer, such as "Boiler Installation" or "Full Rewire". You can always add more later from Settings.
This only takes a couple of minutes and means traidhand is ready to work for you straight away.
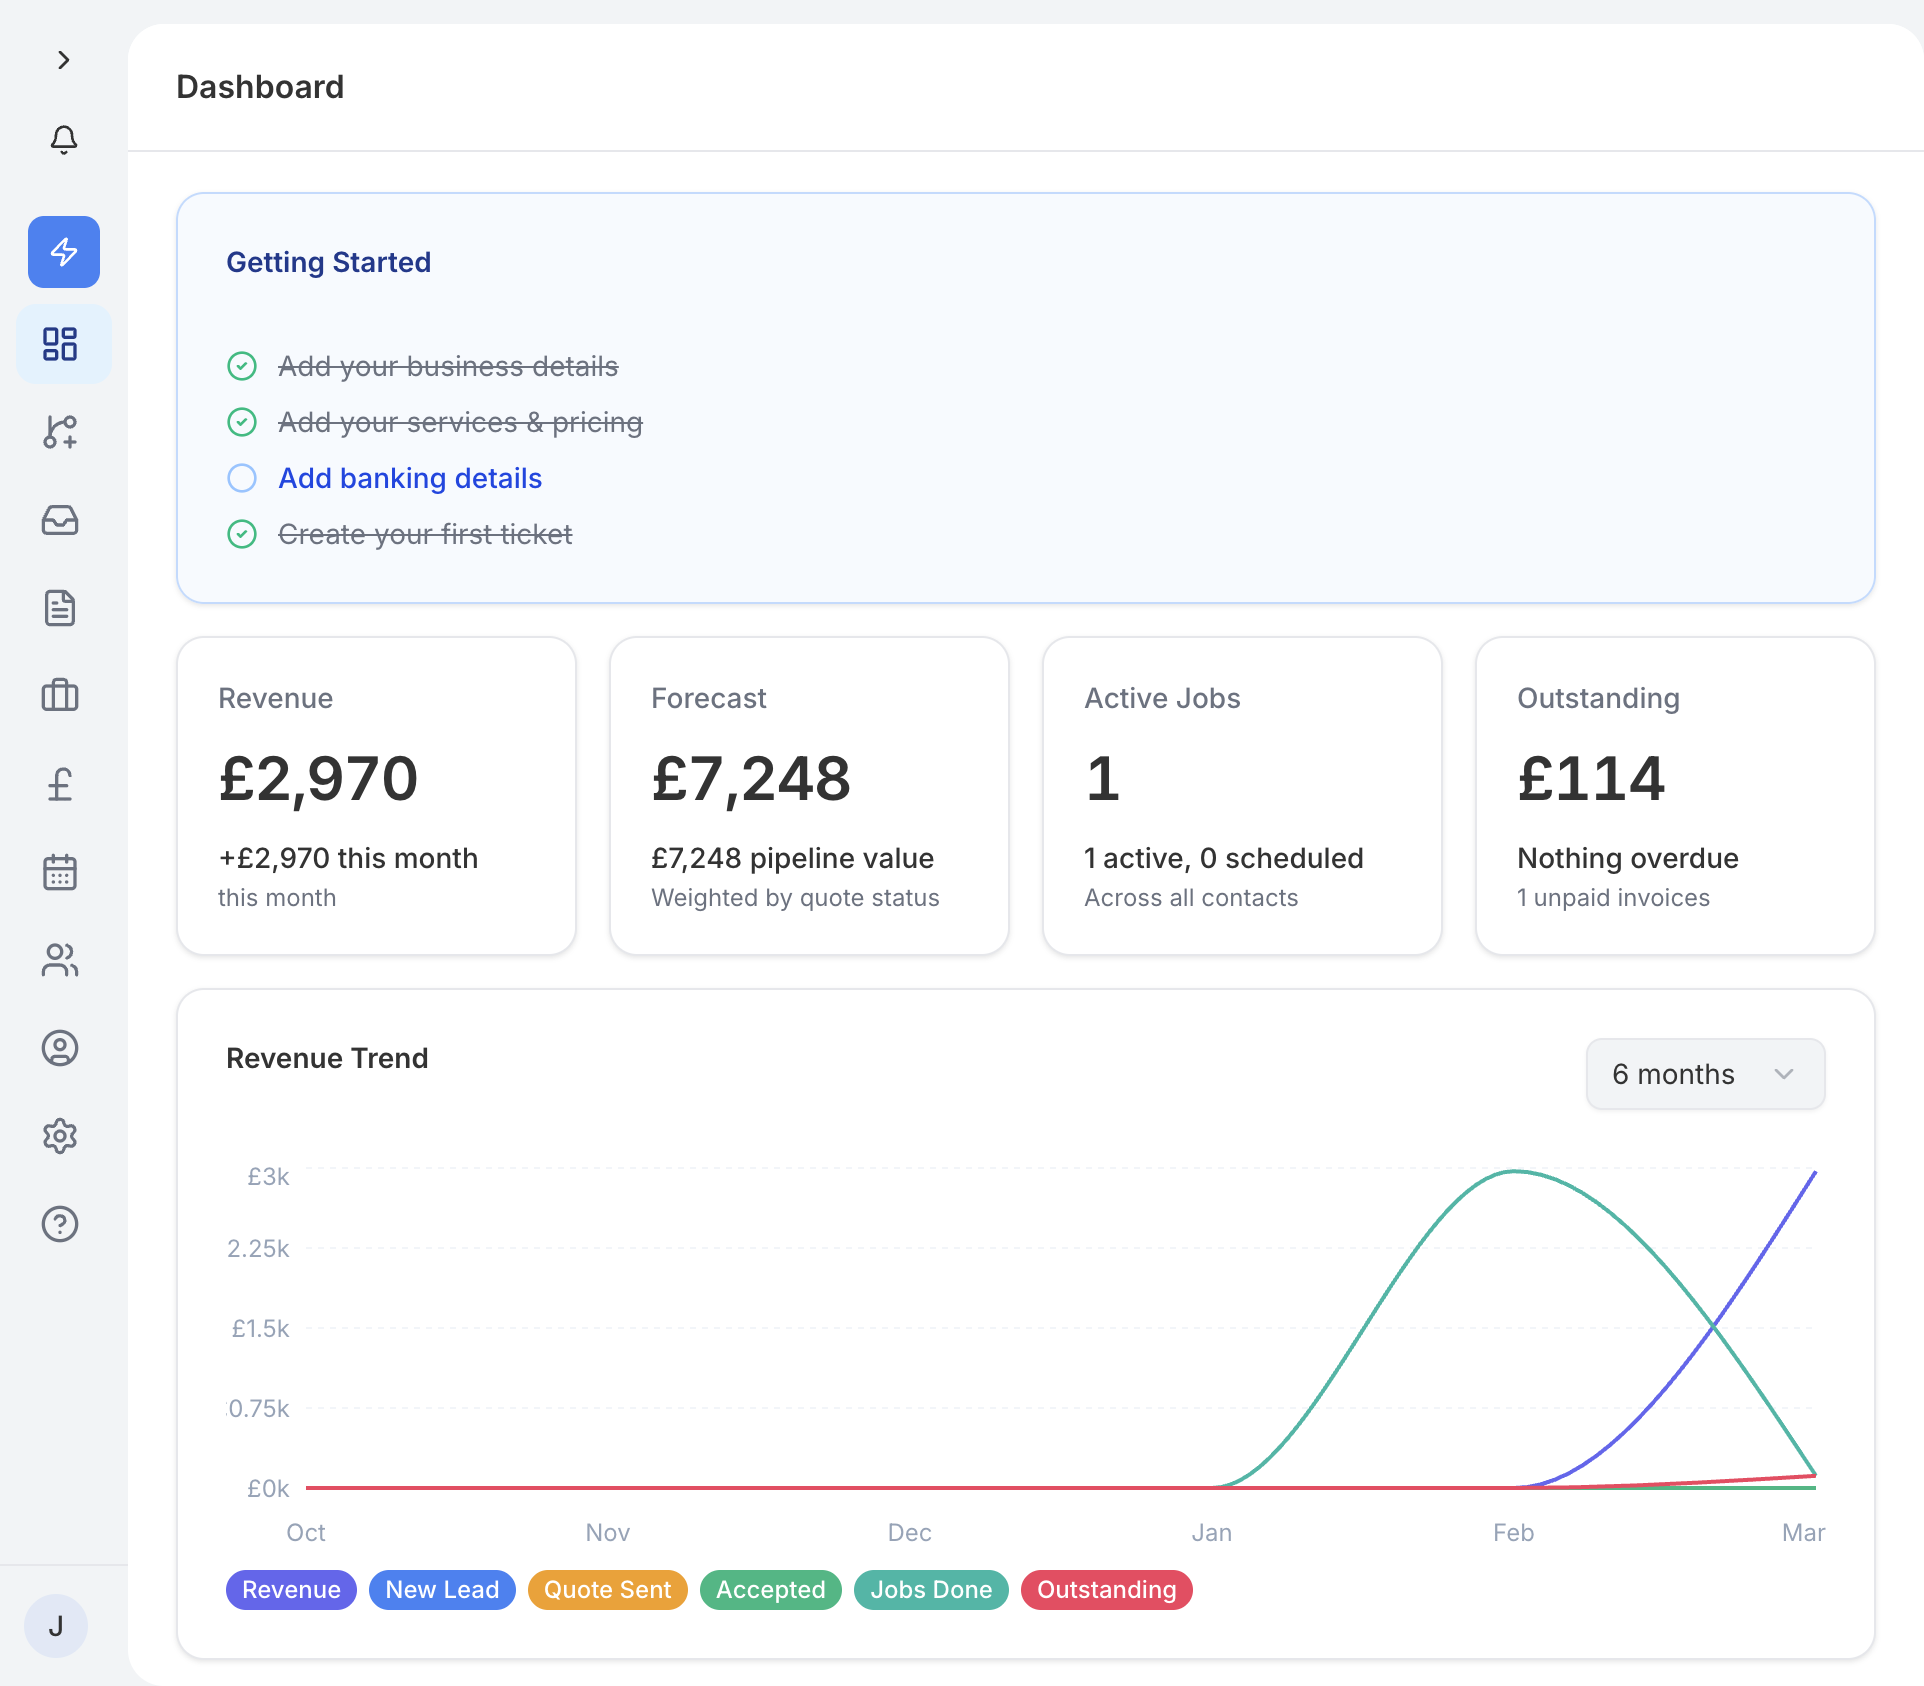
After the initial setup, you will find a Getting Started checklist in Settings. It lists 6 key steps to get your account fully set up, with a progress bar showing how far along you are. Work through each item at your own pace - once they are all ticked off, you are ready to go.
If you ever want to run through the setup guide again, there is a Re-run setup guide link in the same section.
Your dashboard is the first thing you see when you log in. It gives you a quick snapshot of how your business is doing:
- Revenue stats - see your earnings for the current month and how they compare to previous months.
- Draft quotes needing review - a list of quotes that have been drafted (including AI-generated drafts) and are ready for you to review and send.
- Upcoming tasks - jobs and tasks that need your attention soon.
- Recent activity - a timeline of what has been happening across your account, such as new enquiries, sent quotes, and paid invoices.
Here are two things worth doing straight away:
Add your first contact
Go to Contacts in the sidebar and tap Add Contact. Enter your customer's name, email, phone number, and any notes. Once saved, you can quickly select them when creating quotes or invoices.
Create your first quote
Head to Quotes and tap New Quote. Select a contact, add line items from your services list, adjust quantities and prices if needed, and send it off. Your customer will receive a professional-looking email with a link to view, accept, or decline the quote.
Once you are comfortable with the basics, explore the Smart Inbox to manage enquiries, set up your public profile so customers can find you, and enable push notifications so you never miss a message.